Thursday, June 27, 2013

Sexy Legs In Full Force

Sometime last year I came up with a pattern, and with the help of some fishing buddies, it was given the name "Sexy Legs." At first glance, this pattern looks like a fly that someone tied by picking some materials and tying it blindfolded, because of is lack of representation of anything particular, but after it's thrown at some fish, and they eat it, it starts to look a little better. I originally tied this pattern as a carp fly, but after being low on streamers in the backcountry of Wyoming tried it out on some trout and they loved it! I have now used this pattern all across the country and it has worked on a lot of different fish. It is because of all the weird looks and its success while fishing that I believe "Sexy Legs" deserves another post with a couple snapshots of some fish taken on the original "Sexy Legs" fly. From Wyoming cutties to local Ohio smallmouth bass, "Sexy Legs" has been killin' it. "Sexy Legs" is back and here to stay!

The Original "Sexy Legs" 


Tuesday, June 25, 2013

Synthetic Baitfish

This pattern is one of my favorites and I use it a lot. It's a great pattern because it looks great in the water, its easy to tie, and it's very easy and quick to tie. Dozens of fish can be caught on a single fly before it gets a little beat up.

Materials: Steve Farrah's flash blend, Flashabou angle hair, hot melt glue, holographic eyes.

Tools: Vise, bobbin, scissors, glue gun, whip finish tool.

Step 1: Tie in flashabou

Step 2: Fold tag end of flashabou over and tie down.

Step 3: Tie in flash blend in the middle of the material.

Step 4: Repeat Step 3 but on the underside of the hook shank.

Step 5: Fold tag ends of flash blend over and tie down.

Step 6: Apply hot melt glue to either side of the flash blend.

Step 7: Trim excess hot melt glue.

Step 8: Tie in angle hair or darker color synthetic.

Step 8: Tie in dubbing to the underside of the hook shank.

Step 9: Whip finish, clip thread, and repeat Steps 6 & 7.

Step 10: Glue on eyes and apply hot melt glue to form a head.
Close up of the head.

Finished flies.

Finished fly

Saturday, June 22, 2013

The Big Dawg

The name of this fly, "The Big Dawg," just seems fitting for this fly. I've tied this pattern mostly on a big 7/0 saltwater hook for the front hook, but living over 700 miles away from the closest ocean, 7/0 hooks aren't easy to come buy, so for this demo I have used a 5/0 musky hook. The great thing about this pattern is that although it has a huge profile, it doesn't have a lot of weight to it, which makes casting a little easier. Jimmy from Dude Water ( http://dudewater.blogspot.com/ ) has one of these that he is going to throw at some musky in Minnesota in a few weeks so hopefully we will get a picture of it in the mouth of a musky!

Materials: Schapplen, flash, flat braid, hot melt glue, tube fly tube, 30 lb. bite wire, Steve Farrar's flash blend, mirage flash, yak hair, spinner bait spoons, eyes, tube fly head, holographic eyes, super glue.

Tools: Vise, scissors, bobbin, wire cutters, hot glue gun, whip finish tool.

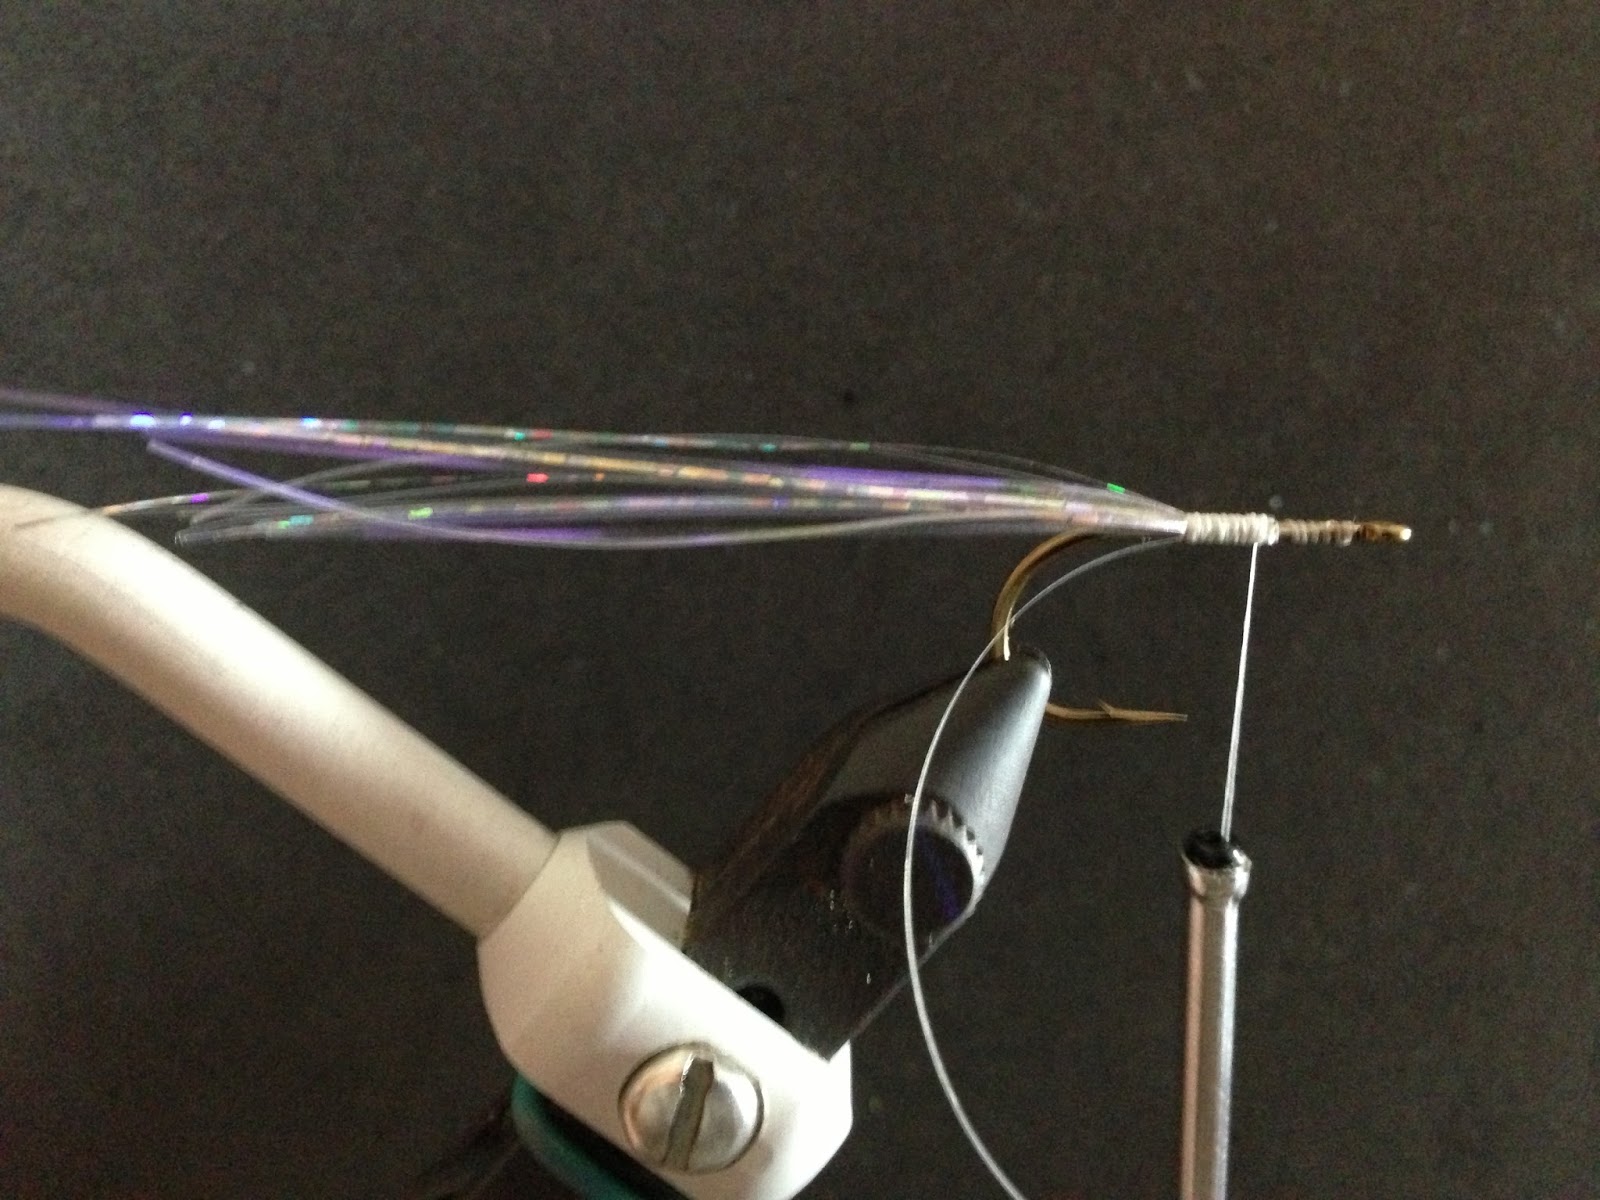
Step 1: Tie in flash off the back of the rear hook.
Step 2: Tie in a piece of flat braid.
Step 3: Wrap the flat braid up to 1/4" behind the eye of the hook.
Step 4: Tie in 4-6 schapplen feathers 1/4" behind the hook eye. Whip
              finish and apply head cement.
Step 5: Attach bite wire as you would a stinger hook. Slide a tube
              fly tube onto the wire.
Step 6: Tie down the bite wire on the hook shank of the front hook.
Step 7: Fold the wire over and make sure the thread wraps are secure.
Step 8: Tie in Steve Farrah's flash bend down at the midpoint of
              the material.
Step 9: Repeat step 8 but on the bottom of the hook shank.
Step 10: Fold front half over on the top and bottom and tie in
                a piece of flat braid.
Step 11: Repeat step 3, but stop 1/2" behind the eye of the hook.
Step 12: Apply hot melt glue to the fibers so that they keep a good
                profile in the water better.
Step 13: Trim the edges of the hot glue.
Step 14: Repeat steps 8-11.
Step 15: Repeat step 12
Step 16: Repeat steps 8-10 with the darker colors on top. and apply
                hot melt.
Step 17: Tie in three strands of mirage flash to either side. Whip finish and clip
                the thread.
Step 18: Using hot melt glue, glue spinner bait spoons to either side of the fly.
Step 19: Using super glue, glue the rubber tube fly head overtop the spoons.
Step 20: Using super glue, glue holographic eyes to either side of the head.
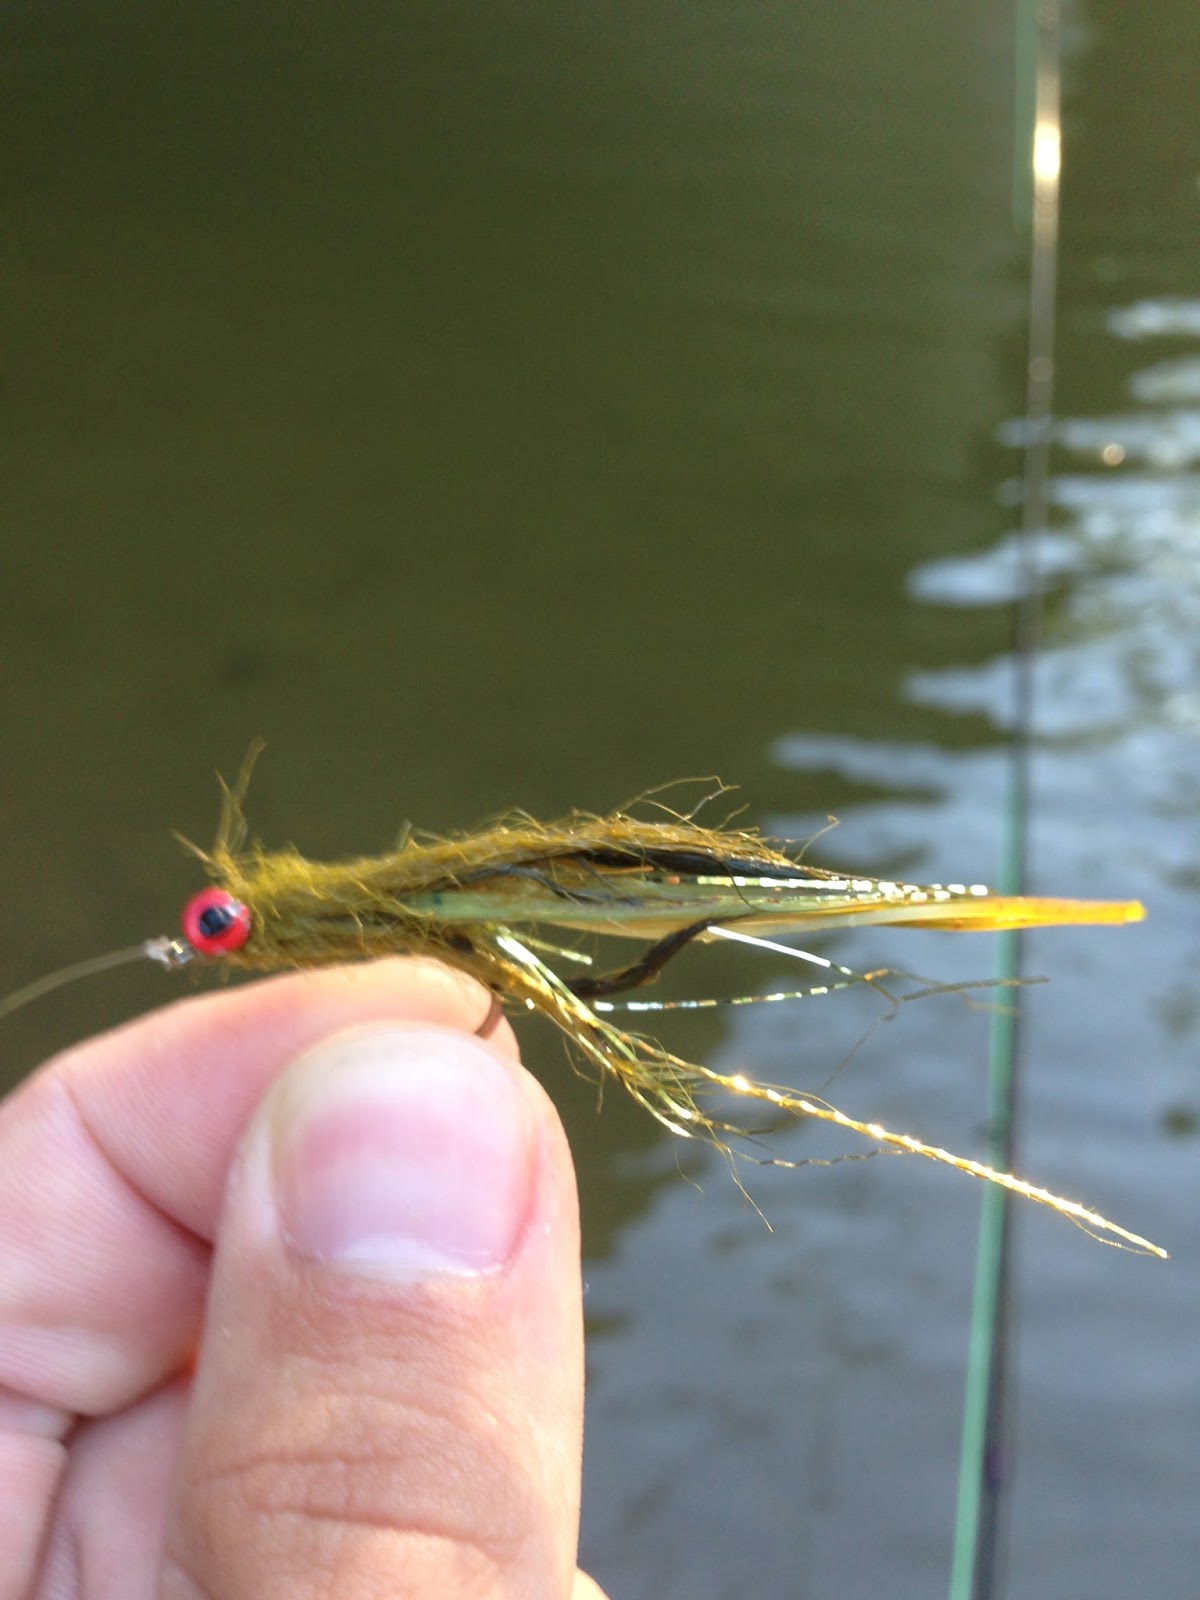
Finished Fly
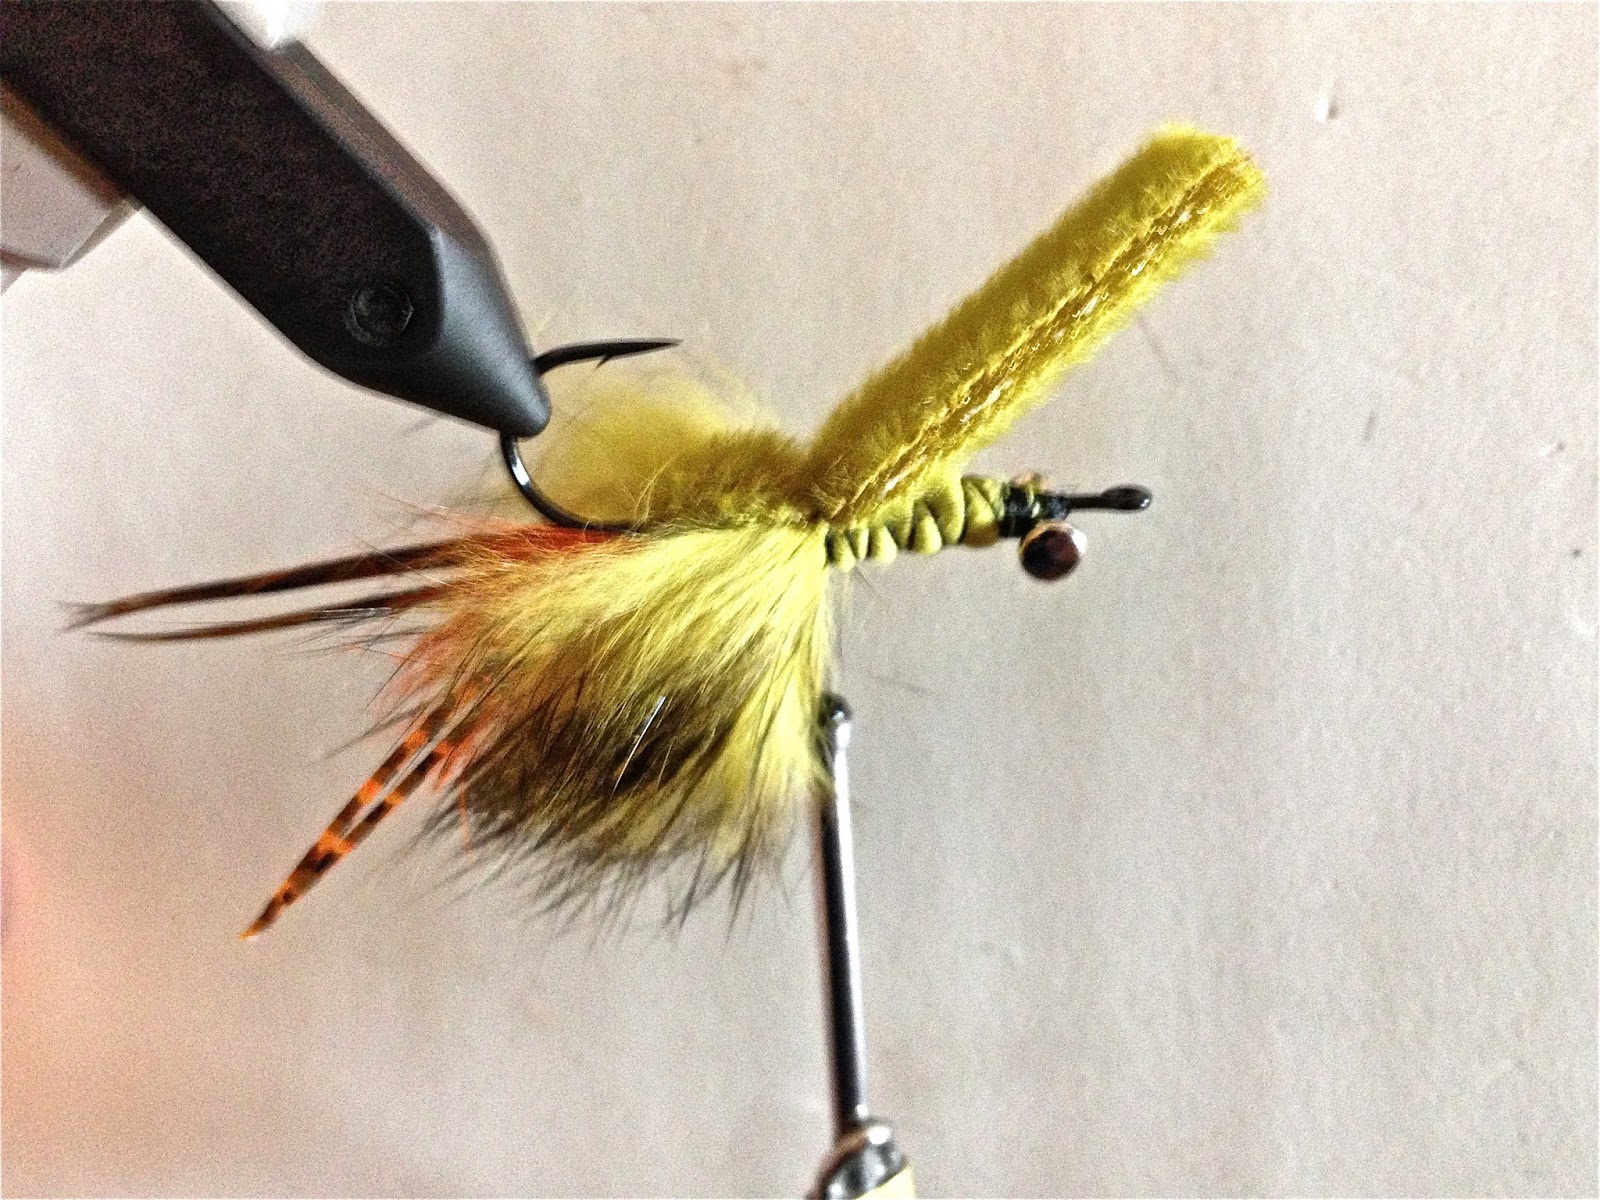
Finished Flies (same pattern different colors)


Chasing Musky

I decided that this summer, I am going to dedicate as much time possible to chasing, and hopefully boating, a musky. I have all the gear needed to chase one of these monsters, but no one can ever have enough flies. In the past year or so I slowly tied up a big box of flies, but recently, I have enjoyed tying these big bugs more so than other types of flies so here are some more big musky bugs.


Sunday, June 9, 2013

Clear-Water Crayfish

This is one of my favorite crayfish patterns I have seen. Fish are more likely to eat a crayfish with smaller claws, and the rabbit fur creates smaller claws that won't tangle or lose their shape in the water. It swims hook up so it is less likely to snag on the bottom, which is where crayfish need to be fished. The best part of this fly is that once you become accustomed to pulling the rabbit fur forward to create the body, this becomes one of the quicker crayfish patterns I have tied. This pattern can be tied in all different shades of green and browns depending on the color of crayfish in a specific area.

Materials: Pheasant Tail, Rabbit Fur, Furry Foam, Rubber Legs, Bead Chain Eyes, Dumbbell Eyes,
                Dubbing.
Tools: Vise, Bobbin, Scissors, Whip Finish Tool.


Step 1: Make a thread base and tie in a pinch of pheasant tail.

Step 2: Tie in a club of rabbit fur cut from the hide of a rabbit strip

Step 3: Tie in bead chain eyes.

Step 4: Tie in a strip of furry foam to the underside of the fly.
              Secure the strip behind (left side in this picture) the 
              bead chain eyes.


Step 5: Tie in two rubber legs to each side of the hook shank.

Step 6: Tie in a rabbit strip.

Step 7: Use dubbing to create a natural taper. This will give the
              fly more body.

Step 8: Tie on dumbbell eyes to the topside of the hook shank.

Step 9: Wrap the rabbit strip around the hook shank towards
              the eye of the hook. Tie off behind the dumbbell eyes.

Step 10: Cut excess rabbit strip and tightly secure the end of
                the rabbit strip.

Step 11: Pull and hold the fur on the rabbit strip towards the
              bend of the hook and make thread wraps with space
              in-between them.

Step 12: Pull the furry foam strip overtop the rabbit fur. This
                makes the rabbit fur stick out on either side of the 
                furry foam strip. Secure the furry foam strip with two 
                thread wraps. After the strip is secured, repeat
                Step 11, but in the opposite direction.

Step 13: Repeat step 12, leaving space in-between the points
                where the furry foam is secure, until you reach the 
                dumbbell eyes. This gives the body different 
                segments and also makes the fly more durable.

Step 14: Whip finish in front of the dumbbell eyes just behind
                  the eye of the hook. Cut excess thread and apply head
                  cement.
Finished Fly

Finished Flies