This is one of my favorite crayfish patterns I have seen. Fish are more likely to eat a crayfish with smaller claws, and the rabbit fur creates smaller claws that won't tangle or lose their shape in the water. It swims hook up so it is less likely to snag on the bottom, which is where crayfish need to be fished. The best part of this fly is that once you become accustomed to pulling the rabbit fur forward to create the body, this becomes one of the quicker crayfish patterns I have tied. This pattern can be tied in all different shades of green and browns depending on the color of crayfish in a specific area.
Materials: Pheasant Tail, Rabbit Fur, Furry Foam, Rubber Legs, Bead Chain Eyes, Dumbbell Eyes,
Dubbing.
Tools: Vise, Bobbin, Scissors, Whip Finish Tool.
 |
| Step 1: Make a thread base and tie in a pinch of pheasant tail. |
 |
| Step 2: Tie in a club of rabbit fur cut from the hide of a rabbit strip |
 |
| Step 3: Tie in bead chain eyes. |
 |
Step 4: Tie in a strip of furry foam to the underside of the fly.
Secure the strip behind (left side in this picture) the
bead chain eyes.
|
 |
| Step 5: Tie in two rubber legs to each side of the hook shank. |
 |
| Step 6: Tie in a rabbit strip. |
 |
Step 7: Use dubbing to create a natural taper. This will give the
fly more body.
|
 |
| Step 8: Tie on dumbbell eyes to the topside of the hook shank. |
 |
Step 9: Wrap the rabbit strip around the hook shank towards
the eye of the hook. Tie off behind the dumbbell eyes.
|
 |
Step 10: Cut excess rabbit strip and tightly secure the end of
the rabbit strip.
|
 |
Step 11: Pull and hold the fur on the rabbit strip towards the
bend of the hook and make thread wraps with space
in-between them. |
 |
Step 12: Pull the furry foam strip overtop the rabbit fur. This
makes the rabbit fur stick out on either side of the
furry foam strip. Secure the furry foam strip with two
thread wraps. After the strip is secured, repeat
Step 11, but in the opposite direction.
|
 |
Step 13: Repeat step 12, leaving space in-between the points
where the furry foam is secure, until you reach the
dumbbell eyes. This gives the body different
segments and also makes the fly more durable.
|
 |
Step 14: Whip finish in front of the dumbbell eyes just behind
the eye of the hook. Cut excess thread and apply head
cement.
|
 |
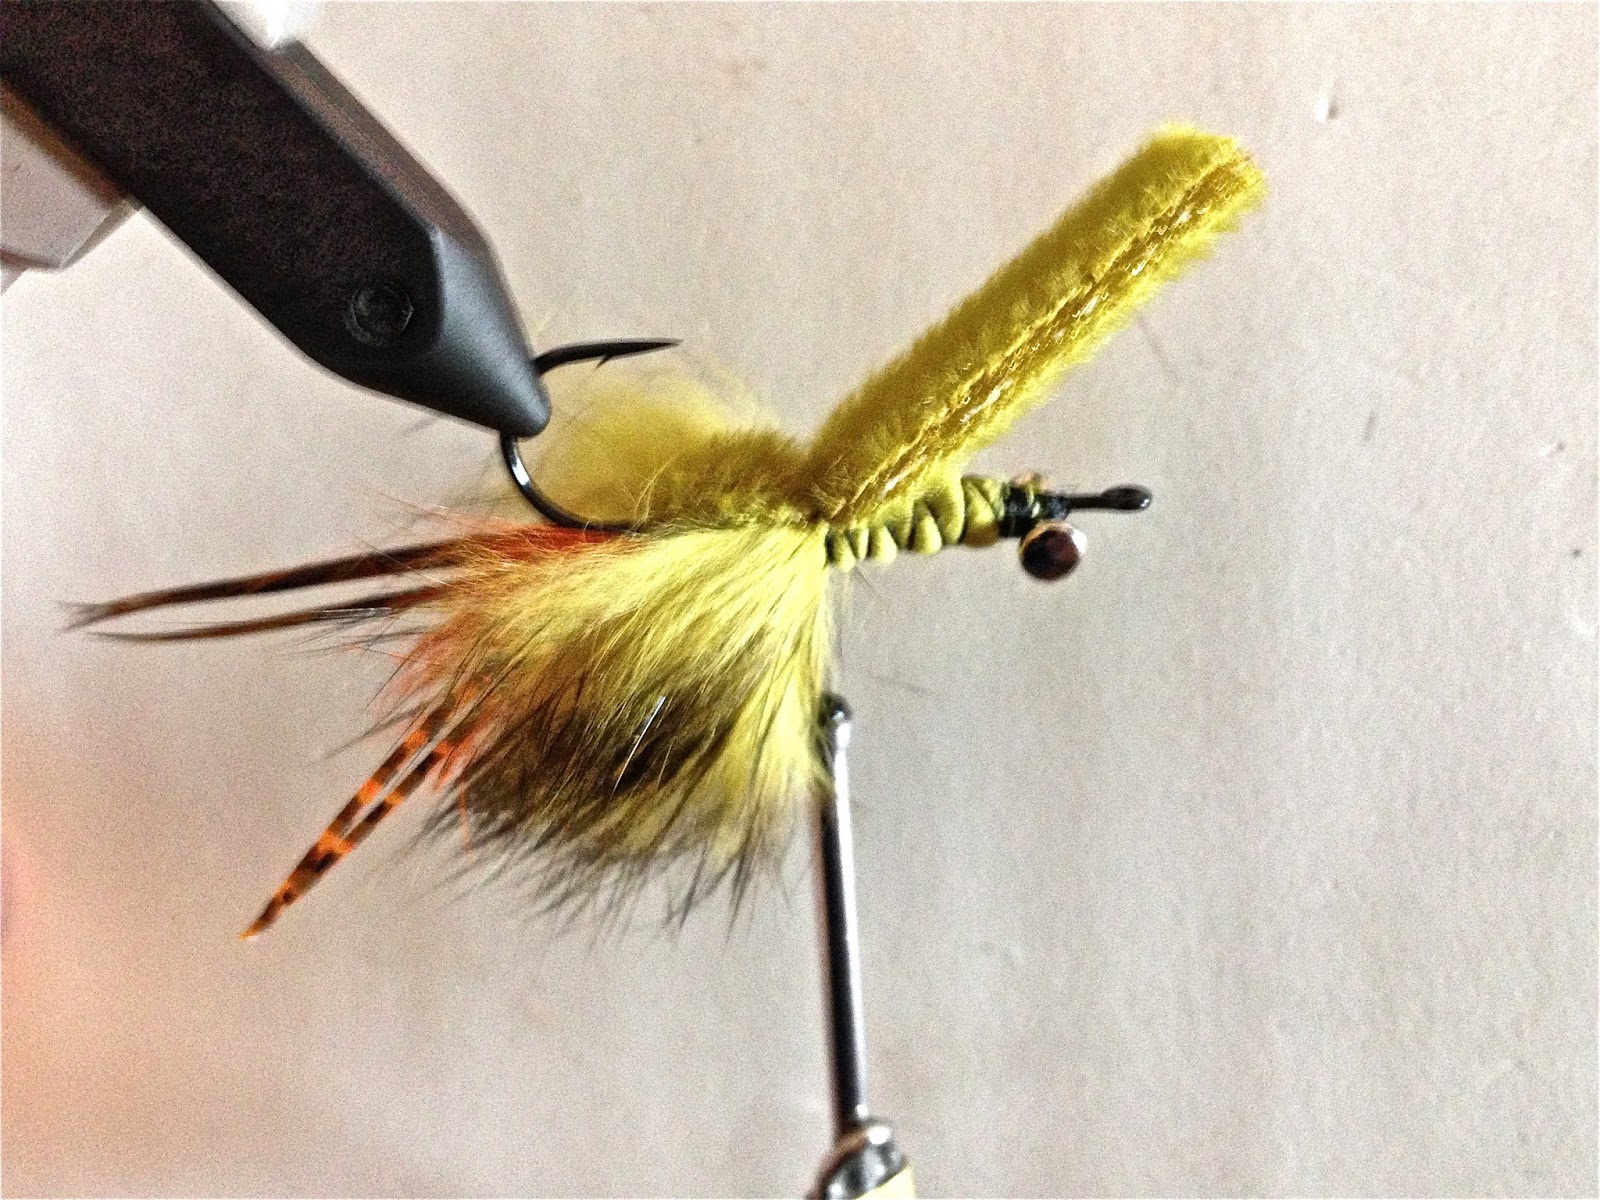
| Finished Fly |
 |
| Finished Flies |


No comments:
Post a Comment